How To Install Your New JK Junior Containment
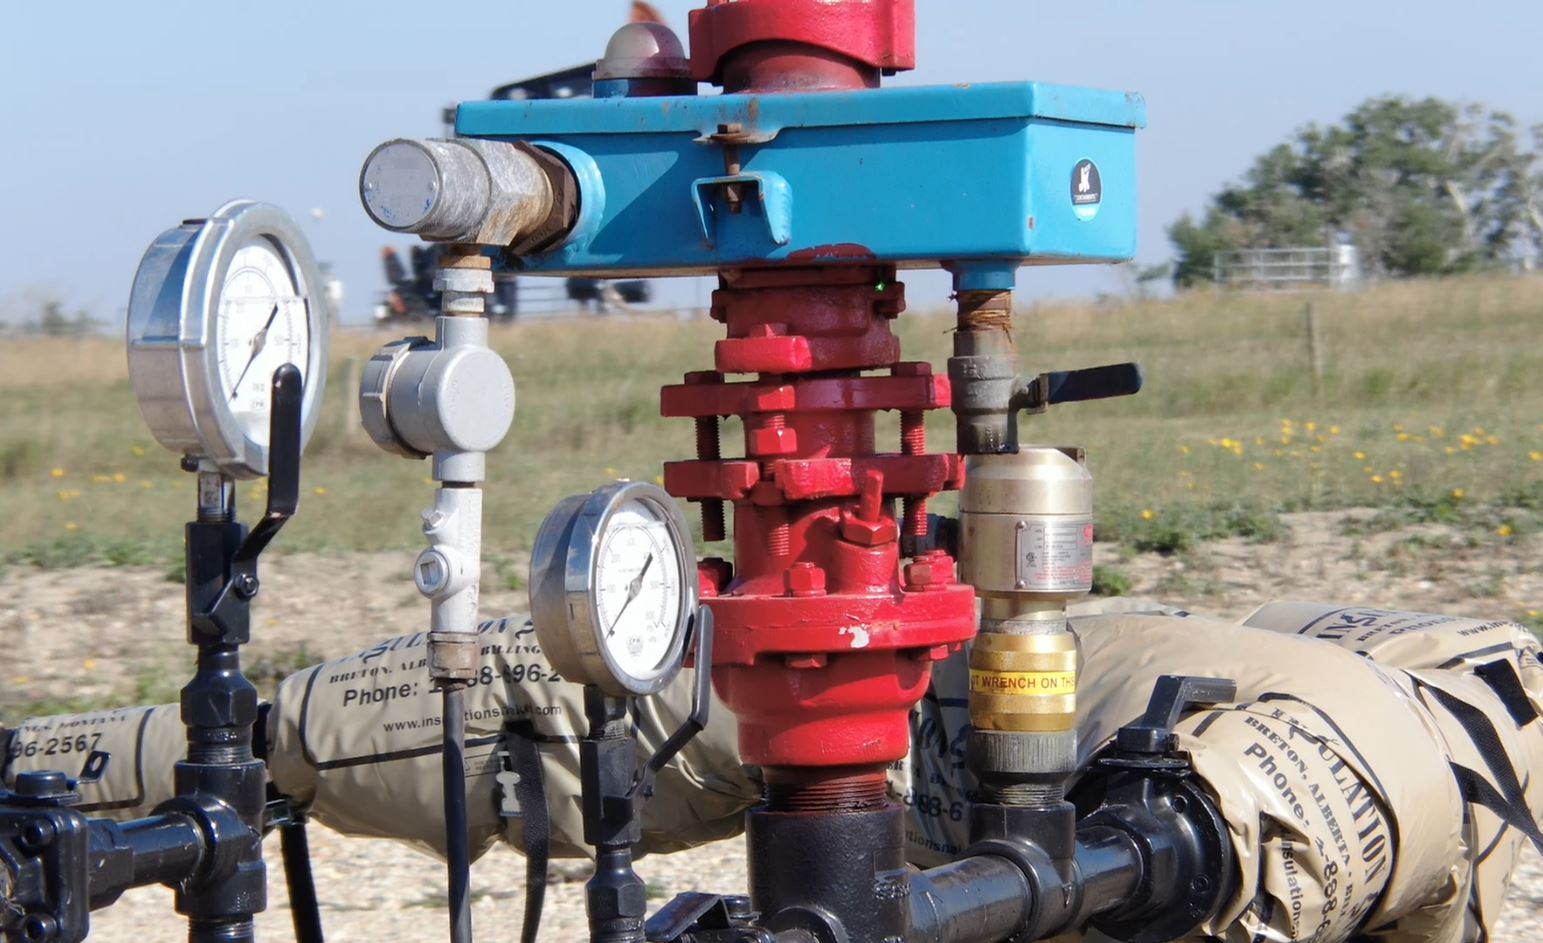
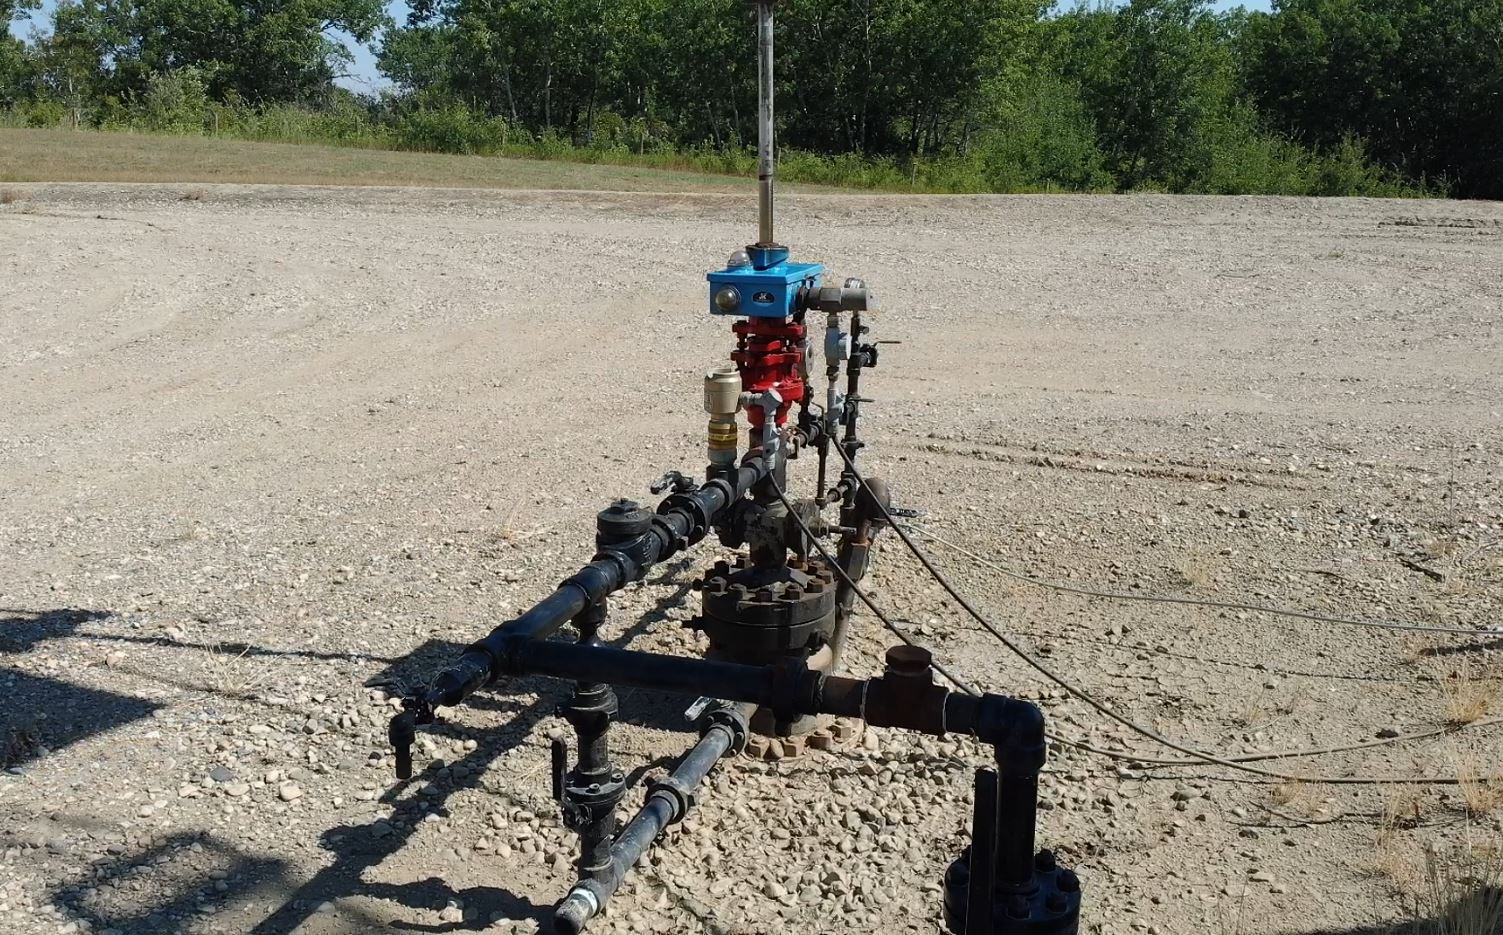
The JK Junior Containment Unit is quick and easy to install with minimal tools.
Installation
Installation Instructions
1. Set rods on bottom (optional) and begin taking all weight off rod string.
2. Measure rod clamp placement.
3. Establish lockout, tagout procedures. Establish well control.
4. Complete taking all weight off rod string.
5. Unbolt and remove dust cap (#2) from stuffing box (#1).
6. Remove carrier bar.
7. Take the JK Junior (#7) and (#8) and glide it over the polish rod.
8. Take up the rod string weight using the pumpjack.
9. Install a new cone packing (#3) on the top of the stuffing box (#1) where the dust cap sits.
10. Bolt the JK Junior (#7) on the stuffing box (#1) where the dust cap (#2) used to sit. Use the square nuts #6 on the outside of the main body (#7). Use the dust cap bolts (#4), lock washers (#5) and flat washers with neoprene gaskets (#11) on the inside of the containment body (#7).
11. Install wide part of the felt (#10) around the polish rod and pack it into the inner rod stool. (Felt may need to be cut, depending on rod size.) The thin part of the felt will go through the slot on the inner rod stool. (Felt will sit on the bottom of the JK Junior main body (#7) and wick the lube oil up to the felt wrapped around the polish rod to keep it cool and lubricated.)
a. NOTE: Fold the felt wick down to the bottom of the reservoir
b. NOTE: Do not insert felt with the long tab facing down. Do not leave felt wick sticking up or sideways.
12. Install bushing and high level switch (#9) in one side hole, and the sight glass (#17) in the other side hole. Apply Teflon tape to all threaded fittings. The high level switch (#9, float sensor) and sight glass (#17) may be interchanged to suit well set up.
a. NOTE: Ensure the high level switch has the “TOP” marking facing up.
b. NOTE: Do not apply wrench to round part of switch. Do not leave high level switch sideways.
13. Install bleed off valve on the bottom of the reservoir (#7).
14. Put the lid (#8) on top of the reservoir (#7).
15. Latch the adjustable latches (#16) and install the safety pins.
a. NOTE: Ensure safety pins are secure.
16. Install two new cone packings (#3) into the outside rod stool (#14).
17. Install the dust cap (#2) using dust cap bolts (#4), lock washers (#5) and square nuts (#6).
18. Fill the lube oil reservoir (#7) one-quarter to one-half way up the sight glass (#17).
19. Slowly open the rod BOPS. Check for leaks.
20. Remove tagouts
21. Ensure that spacing between the carrier bar and/or rod clamp and the JK Junior is adequate.
22. Set rod string weight on the JK Junior. When the lid (#8) is latched on the main body of the JK Junior (#7), the outer stool aligns with the inner stool to support up to 100,000 lbs.. The JK Junior has been tested up to 100,000 lbs. capacity.
23. Measure spacing of upper rod clamp.
![JK Junior B-OR-Style Exploded View Diagram 2022[92]](https://jk-junior-v1745447016.websitepro-cdn.com/wp-content/uploads/2023/05/JK-Junior-B-OR-Style-Exploded-View-Diagram-202292.png)


